
How to install a Tradesman Roof Rack
June 24, 2024
Whether you’re an avid adventurer or a tradesman with a need to haul equipment, installing a roof rack onto your vehicle increases its utility tenfold. A Tradesman roof rack, known for its durability and versatility, is an excellent choice. This guide will walk you through the steps to ensure your Tradesman roof rack installation is secure and successful.
Preparation
Before you begin, it’s essential to read the manufacturer’s instructions carefully. Different vehicle models may require specific installation methods. Also, gather all the necessary tools and hardware. Typically, you’ll need a tape measure, wrenches, and a ladder.
Check Compatibility
Ensure the roof rack is compatible with your vehicle’s make and model. The last thing you want is to discover mid-installation that the rack doesn’t fit. Also, inspect the roof of your vehicle for any dirt or debris and clean it thoroughly to ensure a solid installation.
Watch James from James Fishing Adventures work with his dad to install one of our roof racks on his Toyota Hilux:
Step-by-Step Installation
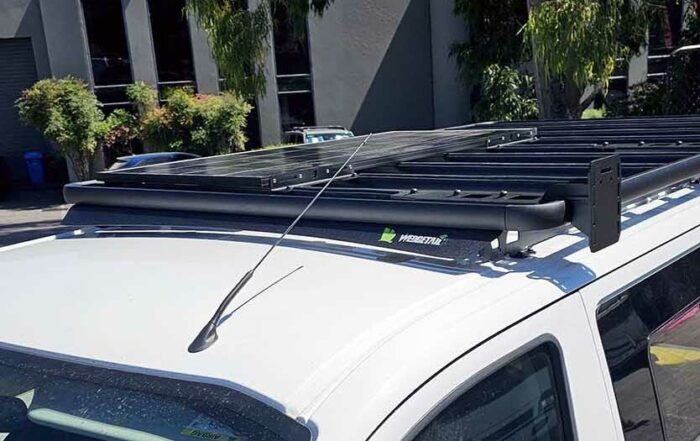
- Positioning the Roof Rack
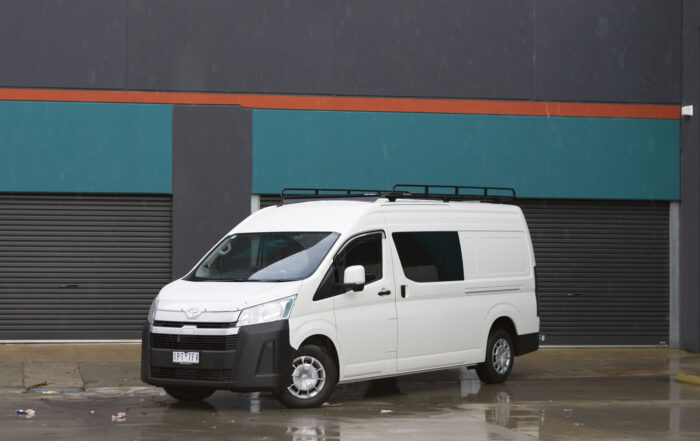
Start by placing the roof rack on top of your vehicle, aligning it with the roof’s natural contours. It’s critical to position it evenly to distribute the weight of the load properly and to minimise wind resistance.
- Secure the Mounting Points
Most Tradesman roof racks come with mounting points that fit into your vehicle’s factory-installed roof rails or directly onto the roof itself. If your car has pre-existing roof rails, clamp the rack’s mounts onto them and tighten the bolts. If not, you may need to drill holes and use the included hardware to secure the mounts directly to the roof.
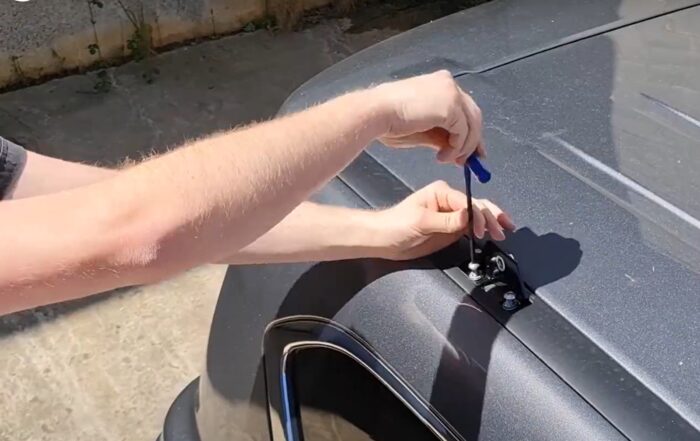
- Tighten All Bolts
Once the rack is positioned correctly and the mounts are in place, go over each bolt to ensure they are all tightened to the manufacturer’s specifications. This step is crucial to prevent the rack from becoming loose during travel.
- Inspect for Movement
Give the roof rack a good shake to check for any movement. If it shifts or feels unstable, re-tighten the bolts and double-check that all components are correctly installed.
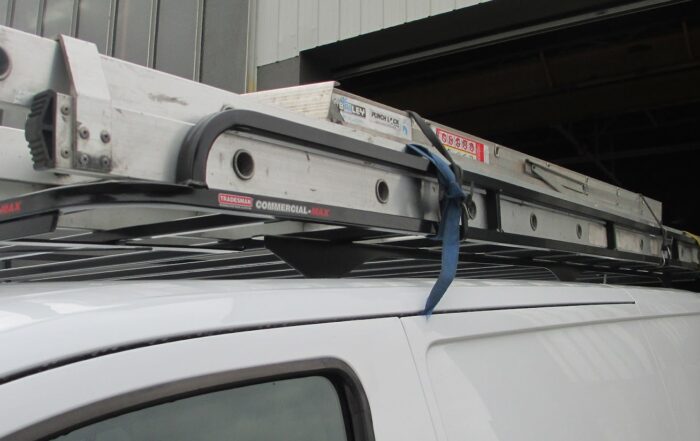
- Load Testing
It’s a good idea to do a test by loading some weight onto the rack (within the manufacturer’s recommended limit) and taking a short drive to see how it holds up. Listen for any unusual noises that might indicate movement or instability. Read more about common mistakes when loading roof racks.
Maintenance Tips
- Regular Inspections: Periodically inspect your roof rack, especially before long trips. Check for any signs of wear, loose bolts, or corrosion.
- Protect Against the Elements: If possible, remove the roof rack when not in use to extend its lifespan and protect it from the elements.
By following these steps, your Tradesman roof rack installation should be a breeze. Remember, taking the time to install it properly will pay off with a reliable and robust system ready to support your adventures or work needs.
Have any questions or tips about installing a Tradesman roof rack? Share your experiences in the comments below.
Most Recent Posts
How to install a Tradesman Roof Rack
Jonah Samuel2024-06-24T14:48:57+10:00June 24, 2024|
Specialists in roof racks for Toyota vehicles
Jonah Samuel2024-06-24T16:02:25+10:00May 23, 2024|

Top 5 Victorian High Country 4WD Tracks
Jonah Samuel2024-05-07T16:25:59+10:00May 7, 2024|
Why roof racks make noise and how to prevent it
Jonah Samuel2024-03-26T20:13:13+10:00March 26, 2024|

Everything you need to know before buying roof racks
Jonah Samuel2024-03-26T20:05:50+10:00March 26, 2024|
Customisation Options for Roof Racks
Jonah Samuel2024-03-01T16:10:30+10:00March 1, 2024|